Robotic Arm
Simulation (On Progress)
Design Option:
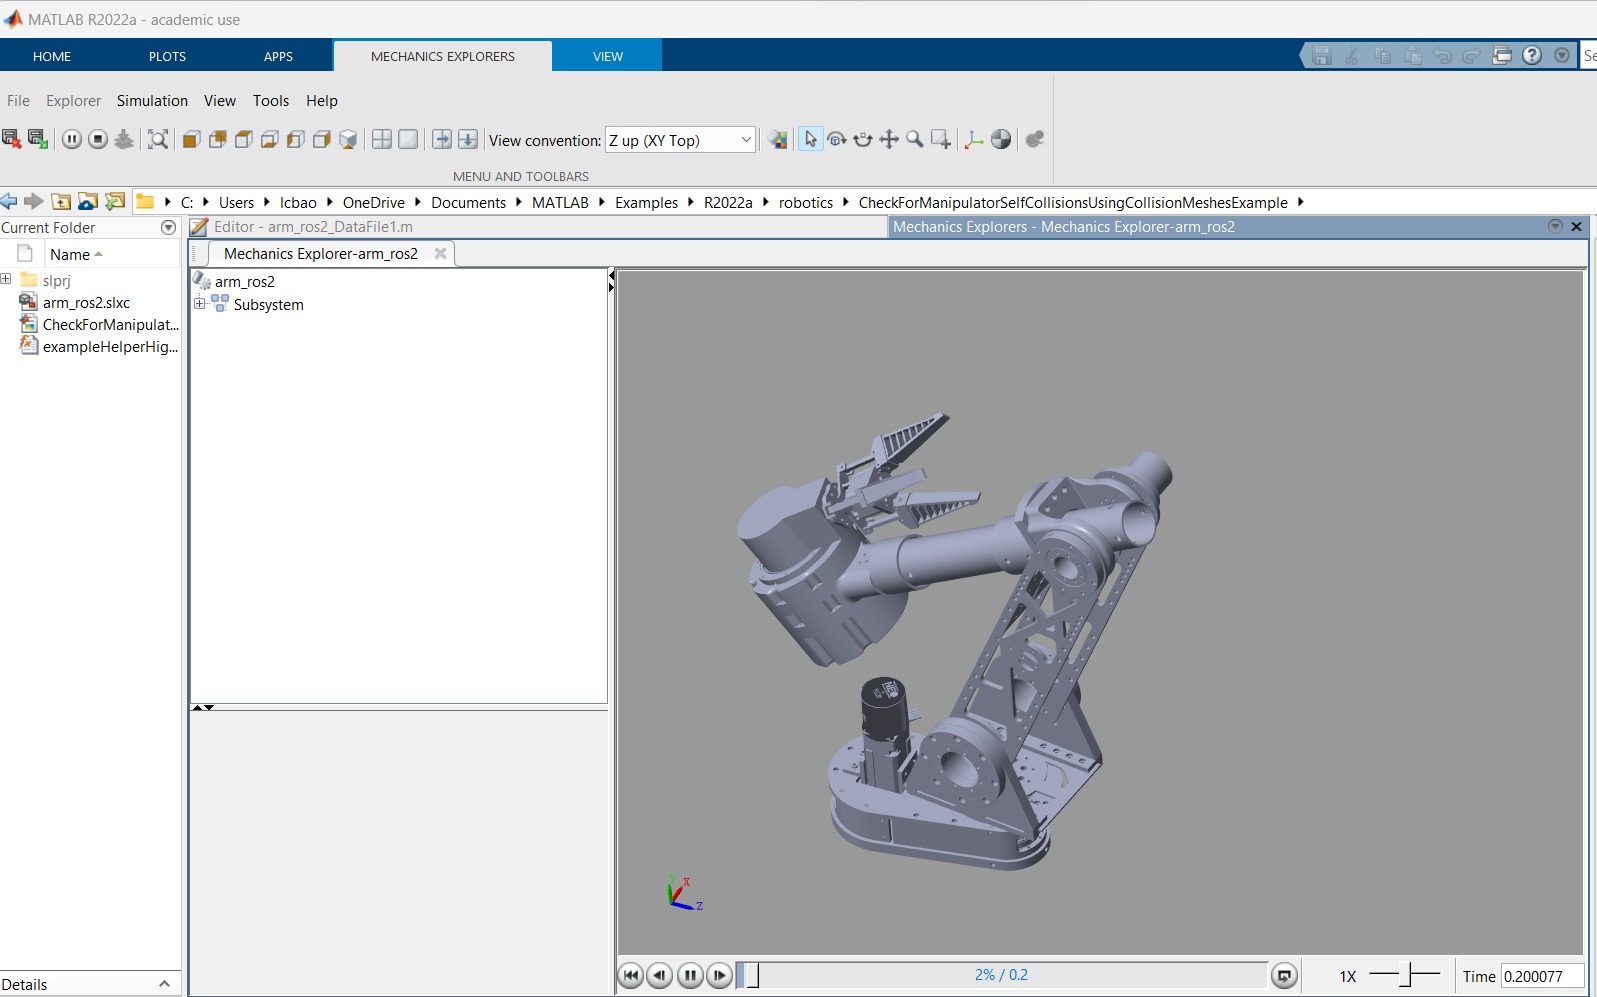
The objective of the simulation was to predict possible collision points of the robotic arm and to determine the static torque related to the arm's position, along with the dynamic torque that correlates with the moment of inertia and angular acceleration. Inputs for the simulation will be dependent on the robotic arm's trajectory, the time needed to move from one point to another, and the time progression during the simulation. While the output of the simulation will be To optimize the simulation, I selected a simplified version of the robotic arm, using URDF and STL formats to establish the RigidBodyTrees and the physical parameters of the structure.
What I Learned:
I learned a lot about Control Theory and Robotic Simulation in this work. Especially the application of Inverse/Dynamic Kinematic, Matrices, Forward/Inverse Dynamic. As the project is still in progress, there is still more knowledge I can acquire from this project.
1st Axis
3D Print PA6 Nylon-Carbon Fiber Belt Tensioner
Design Option:
Designing the base of the robotic arm was the most challenging aspect, as it needed to handle a significant amount of torque, reaching up to a maximum of 150 N.m at 10-15 RPM. For the testing phase, I opted for an HTD belt combined with 3D-printed materials, and for the final phase, a GT3 belt with metal components. The system's gear reduction, crucial for managing torque, was achieved using a NEO motor paired with a gearbox. This setup not only enhanced the torque output but also ensured compatibility with the mechanical properties of both the gear system and the belt drive, maintaining an optimal balance between torque and RPM.
What I Learned:
Designing the base of the robotic arm was one of the most challenging tasks I've undertaken during my university career. The efficiency of my design was crucial to meet all the essential requirements: a budget under $300, a weight below 1.5kg, a rotational speed of 10-15 RPM, a maximum torque capacity of 150 N.m, thermal resistance, and a closed system to prevent dust. Successfully completing this design provided me with significant insights into mechanical systems and their efficiency.
Weight Measurement
Belt Tensioner Stress FEM Analysis
2nd Axis
Design Option:
For the second axis of the robotic arm, which needed to handle a significant amount of both static and dynamic torque, I chose a 150 lb. max Linear Actuator with Feedback Control as the primary actuator. This decision was driven by the actuator's ability to provide substantial torque, weight efficiency, and a rigid structure, all while keeping within the project's budget. To allow free rotation at the axis and maintain cost-efficiency, I used custom-made 3D-printed bearings made from ASA filament on both sides of the axis. Additionally, the application of an elliptical truss structure in the Aluminum 6061-T6 framework significantly reduced the weight while maintaining high structural integrity and distributing stress concentration evenly across the structure.
What I Learned:
Although the second axis is less challenging than the first, using a linear actuator requires a more accurate evaluation of the hand-calculations to estimate the maximum torque that the structure can lift. At a distance of 0.6m in length, it was necessary to design a structure capable of handling a bending moment ranging from 70 to 150 N.m.
3D printed PA6-CF Linear Actuator Mount under 6kg load
3D Print ABS 2nd Axis mount
Gripper
Design Option:
The gripper is entirely made from Aluminum 6061-T6 and utilizes a 30 PSI pressure air pump to generate gripping force. Equipped with a high-friction silicone rubber adaptive grip, the gripper is capable of lifting objects weighing up to 5kg. I also would like to take an interesting path, which is using magnet to generate an interchangeable magnetic fingers for maximum flexibility
What I Learned:
The project involved calculating the robotic end-effector's capabilities and understanding the importance of friction in securely holding objects without slippage. Additionally, integrating dynamic linkages with linear motion from the pneumatic actuator was a fascinating concept for me to explore for the first time.


